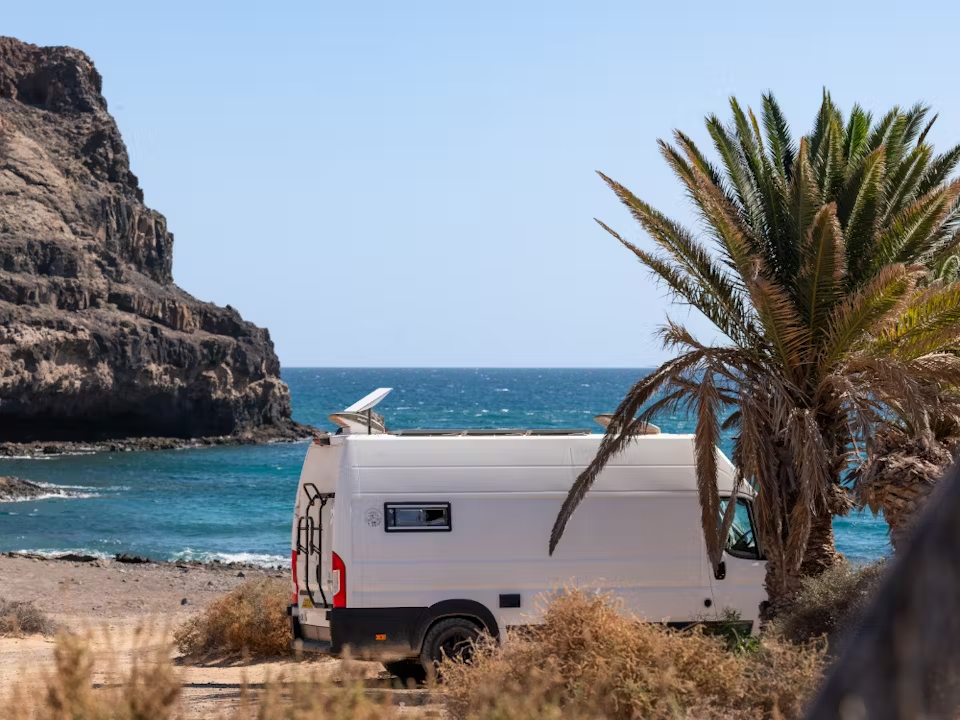
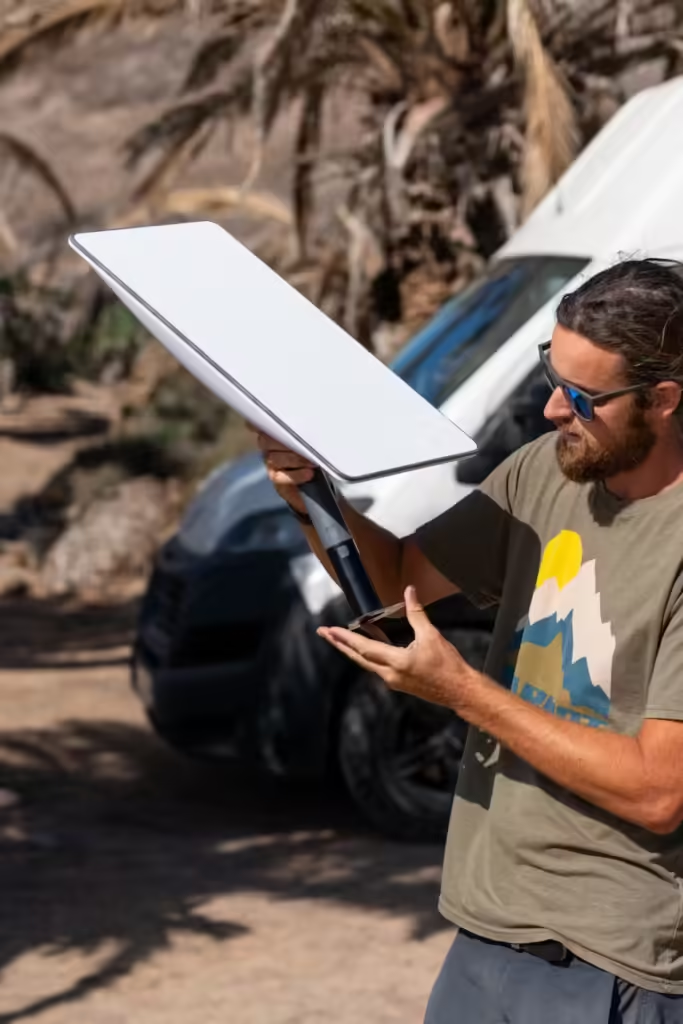
After using Starlink with our campervan for several weeks, we quickly established that we needed (wanted) a solution to mount our Dishy onto the roof and not have to rely on the Starlink Xframe base stand which is 1. bulky 2. It’s not always appropriate to use depending on where we have our van parked. We also don’t want to modify the hardware which is another workaround for a lot of people travelling in RVs/vans. We’d seen the Starvmount solution from some other UK van accounts on Instagram so we were thrilled when Laurie reached out saying he’d be able to arrange postage to the Canary Islands for us!
What is the Starvmount Dishymount?
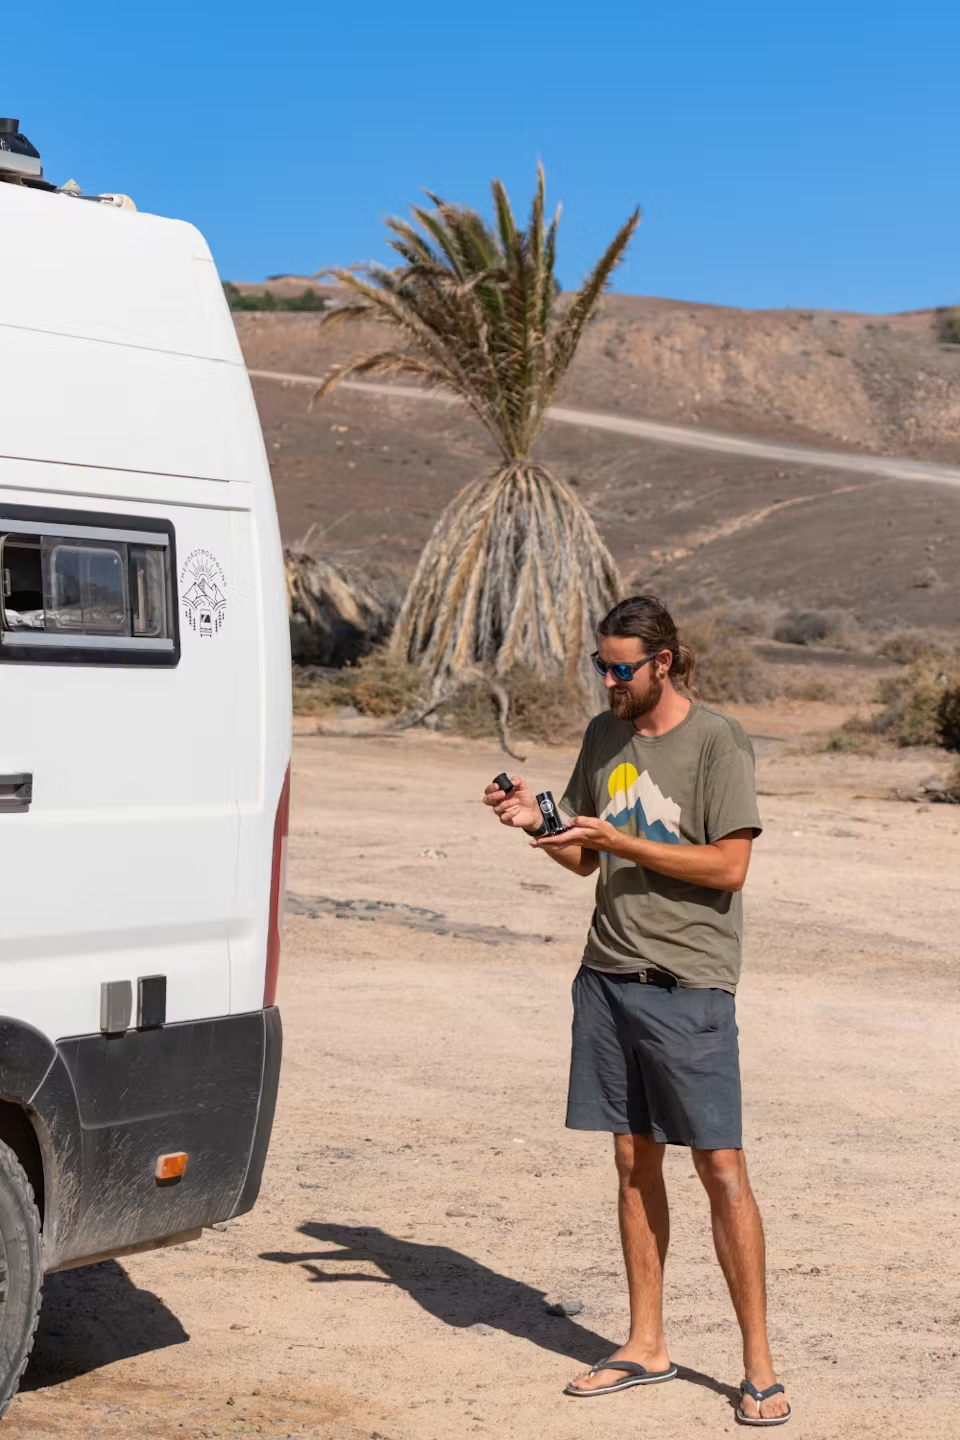
The Starvmount Dishymount is a laser cut, stainless steel mount which has been designed to be secured to the roof of a rv/van/motorhome and house the Starlink dish. The compact design allows multiple ways to secure the mount to your roof, and also multiple ways to fix or route your Starlink cable. Because of our current setup we opted to ‘stick’ the mount onto our roof. A product such as Sikaflex EBT+ is a great all-purpose adhesive to use for an application like this.
If you want to drill into your roof you can use the provided in box template to secure the mount onto your roof. There are multiple hole patterns and sizes for you to choose from on the base stand (M6 or M8).
For those of you with roof racks or more versatile roof setups you’ll be able to opt for the M6/M8 mounting options and be ready to go in minutes!
Starvmount cable routing options
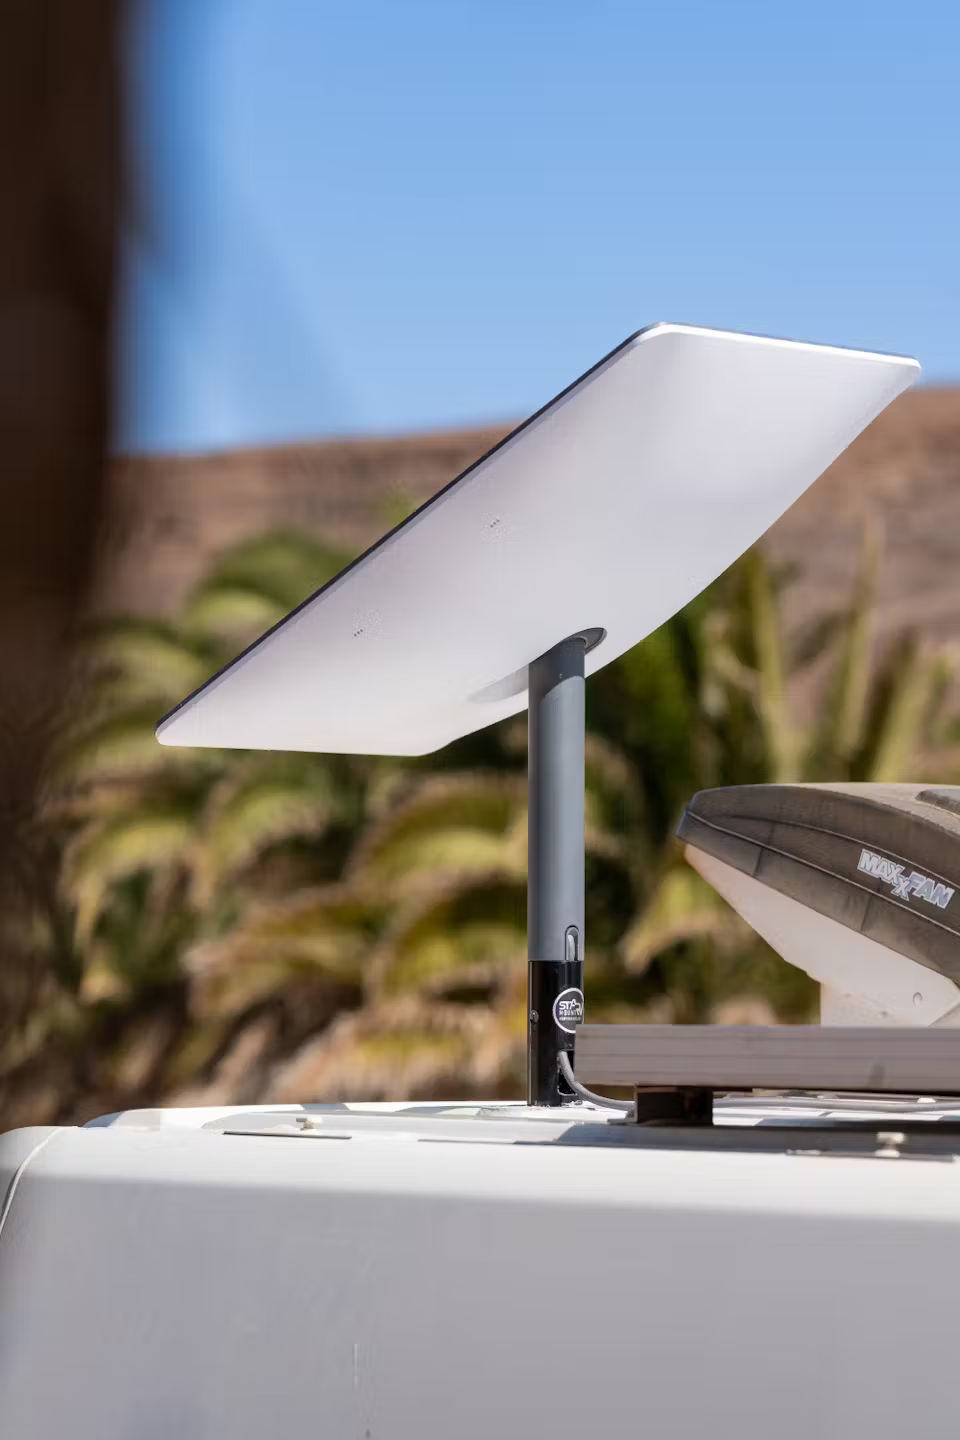
The Starvmount comes with the ability to route and manage the Starlink cable in 3 ways.
Captive cable routing:
This option allows you to run the cable through the stem of the mount and into the base of the dish. This is the option we’ve been using and that you’ll see in the attached photos. It keeps the cable tightly in position and is a clean and tidy way to have the cable attached.
Contained cable routing:
This is the ideal solution for those looking to run the cable through the roof of the van for more permanent use. The base of the Starvmount is hollow so you can run the cable up through the roof, via a gland and into the bottom of the dish. There is a Dishymount cap available which allows you to stow the cable into the cap and leave it inside the mount even when the dish is not installed.
Flying cable routing:
This option is similar to the captive cable option but the cable trails from the top of the mount and does not run inside it.
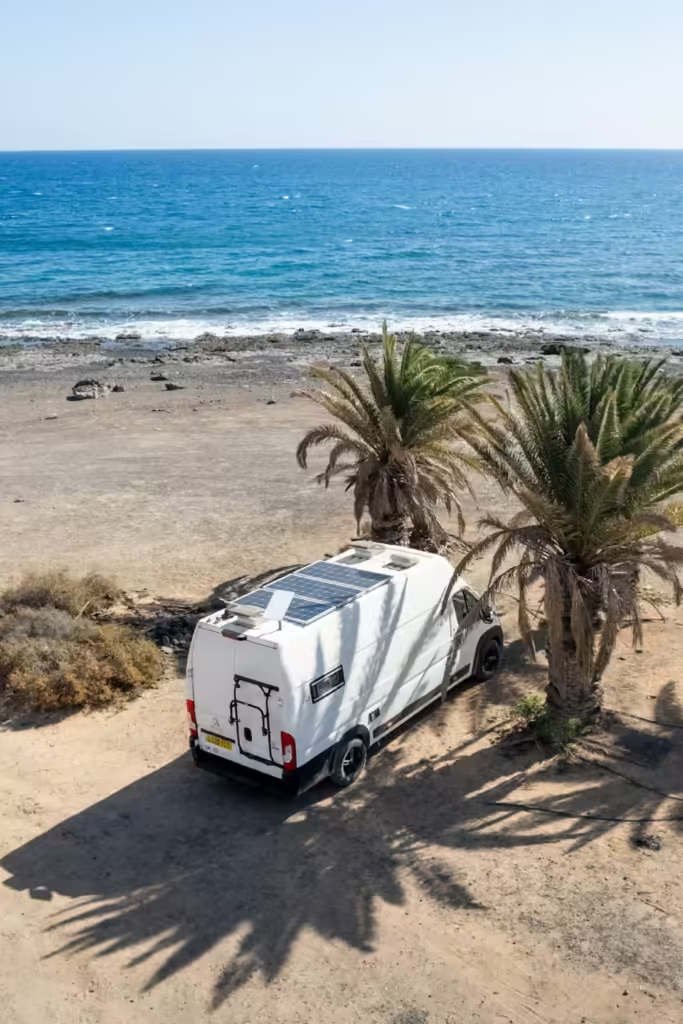
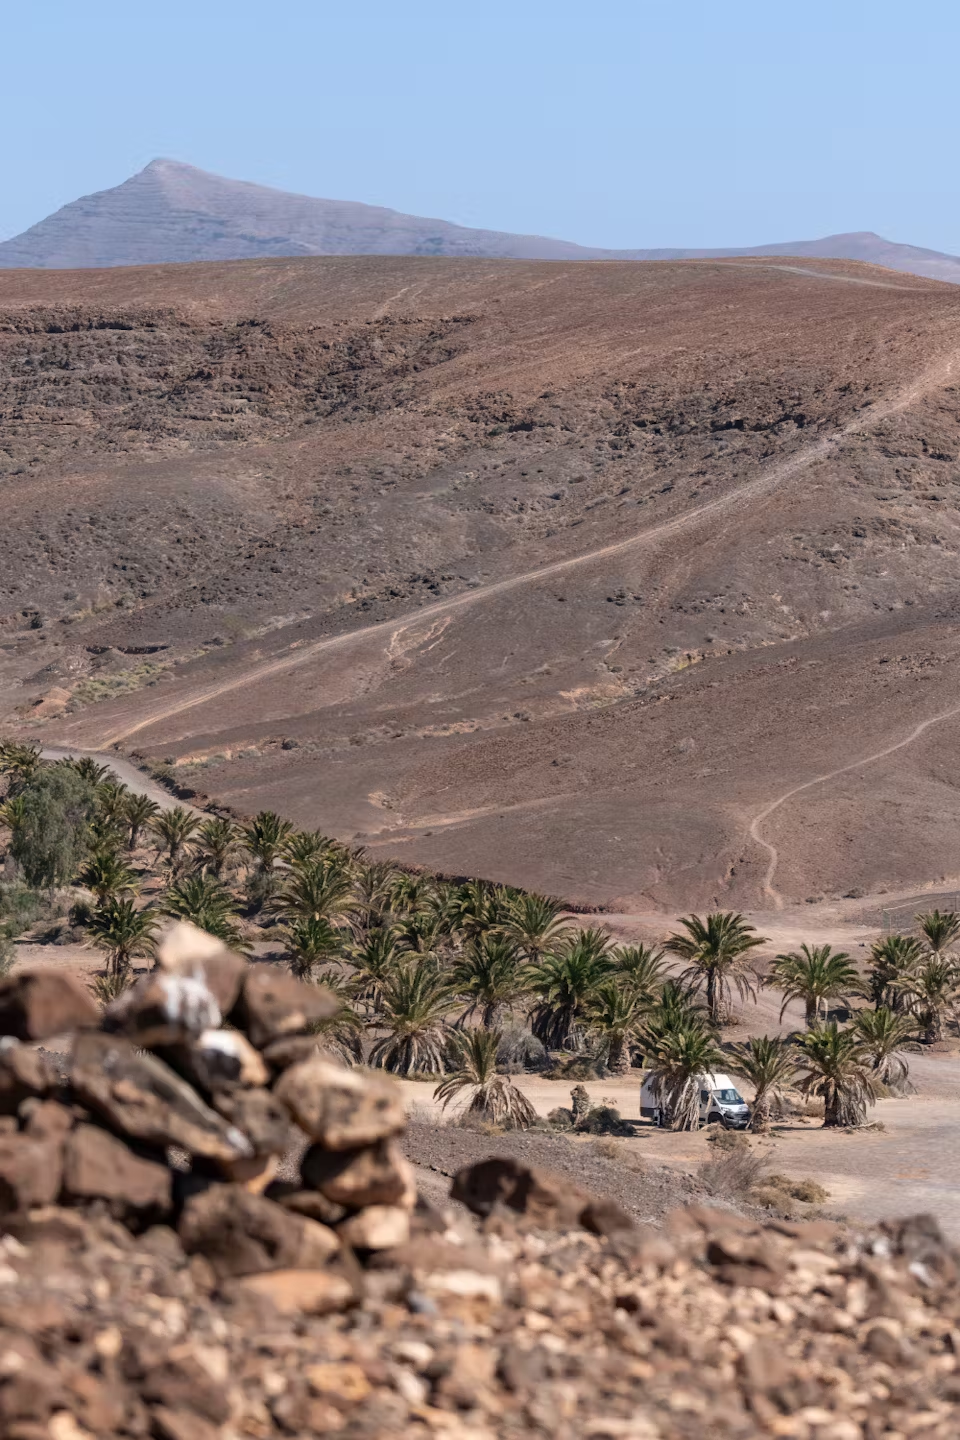
Considerations for using Starlink
Solar:
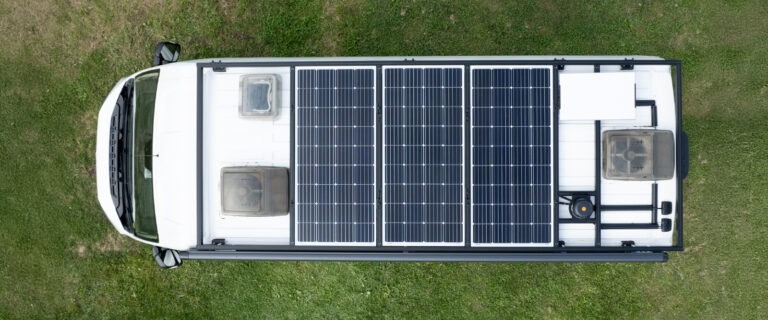
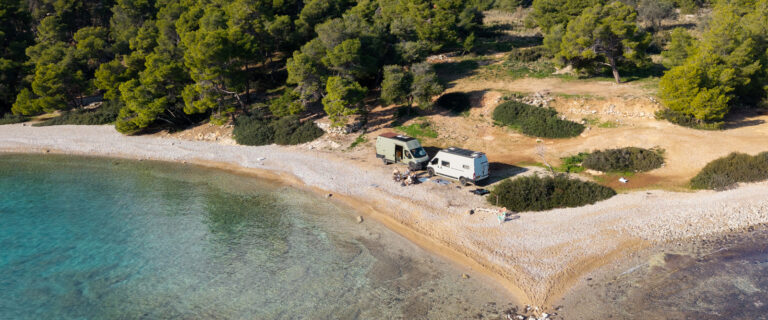
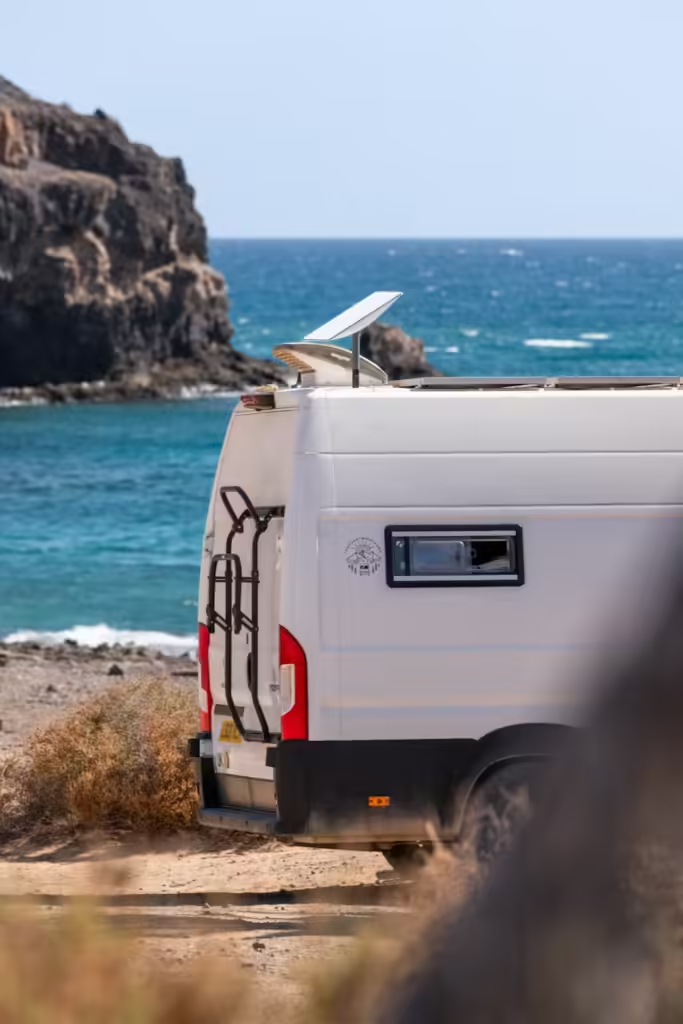
When choosing where to mount your dish using the Starvmount consider the direction you tend to orientate your van. You’ll want to reduce the chance of shadow casting from the Starlink onto your solar as much as possible. One of the reasons we wanted to have the dish mounted on the roof ‘most of the time’ but not permanently routed is because there are times we will have to revert to using the xframe if the dish is obstructed from parking under trees or blocking solar etc.
Access:
We mounted our dish at the back of the van, which allows us to mount and unmount the Starlink by standing on the bed via the back doors. This way we don’t have to dig our ladder out every time we want to put the dish up.
Dish movement:
Another important consideration for mounting your dish is to ensure you have adequate distance between the mount and other objects on your roof such as vents/roof lights. When booting the Starlink needs to have the ability to rotate 360 degrees and also be horizontal when searching for satellites and initialising, obviously you don’t want this process being restricted or jamming against anything.
Power:
If you’re looking at van Starlink mounting options the chances are you already own your Starlink. The setup draws a fair amount of power for living off grid. We either use sleep mode or stow the Starlink via the app and unplug the router overnight but leave it on the roof during work days.
The Starvmount is a superb option for van lifers looking for a sleek and easy system to mount their dishes. The precision build, the fact it is made in the UK and the service from Laurie are all superb.
*The recommendation from Starvmount, In the case of extreme weather forecasts and high winds, is to stow and demount the Starlink Dishy from the roof.
**Using any of the links in this article will get you an automatic 10% off your own Starvmount order which will be applied during checkout.


