Peugeot Boxer custom campervan roof rack
If you're on the brink of crafting your own campervan or commissioning your dream build, a custom roof rack ought to be at the top of your wish list. This custom roof rack was built and installed by Vanlife Conversions onto our Peugeot Boxer during some other van upgrades in the summer of 2024, but you can also create this yourself! When our van was first built we had everything mounted directly onto the roof, 2 1/2 years later we had this custom roof rack fitted, read on to find out why you should too.
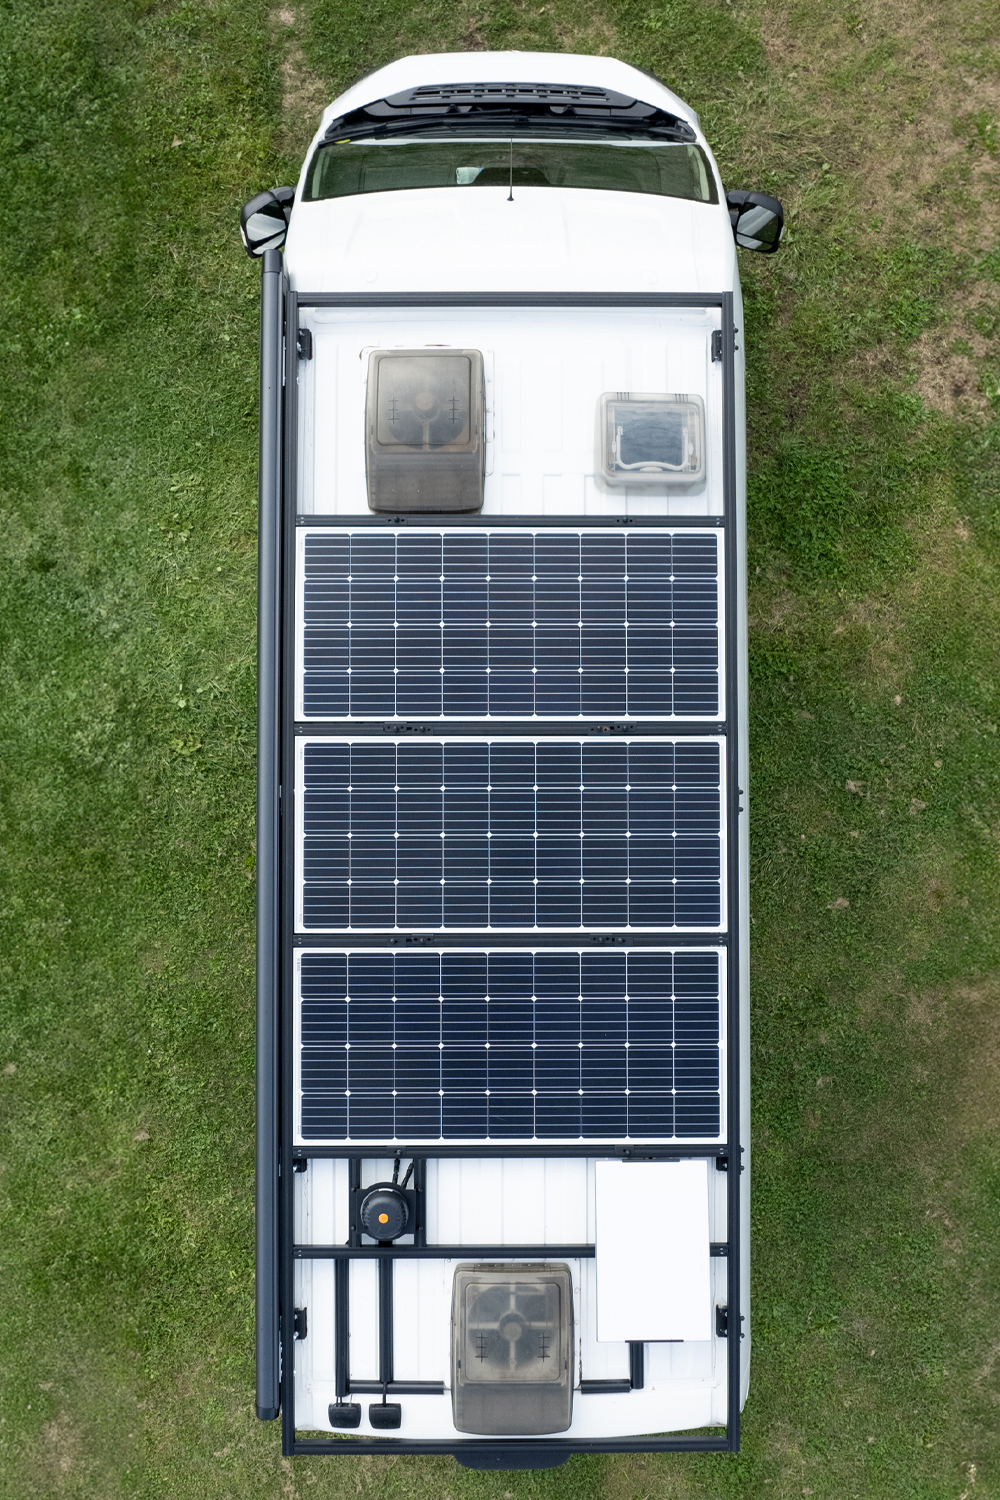
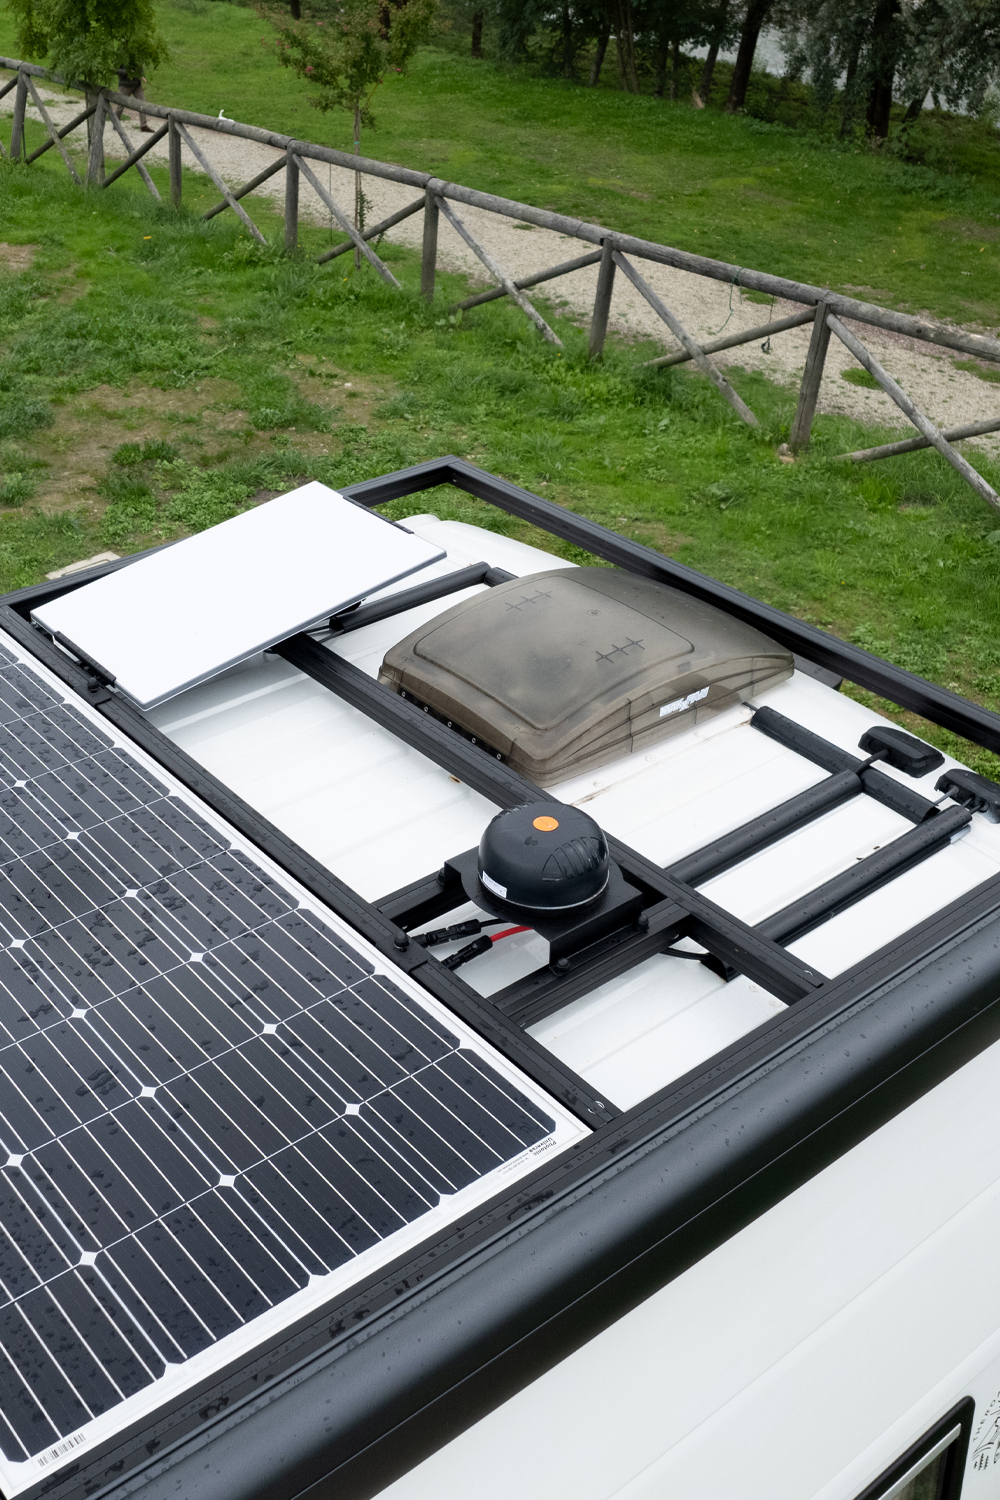
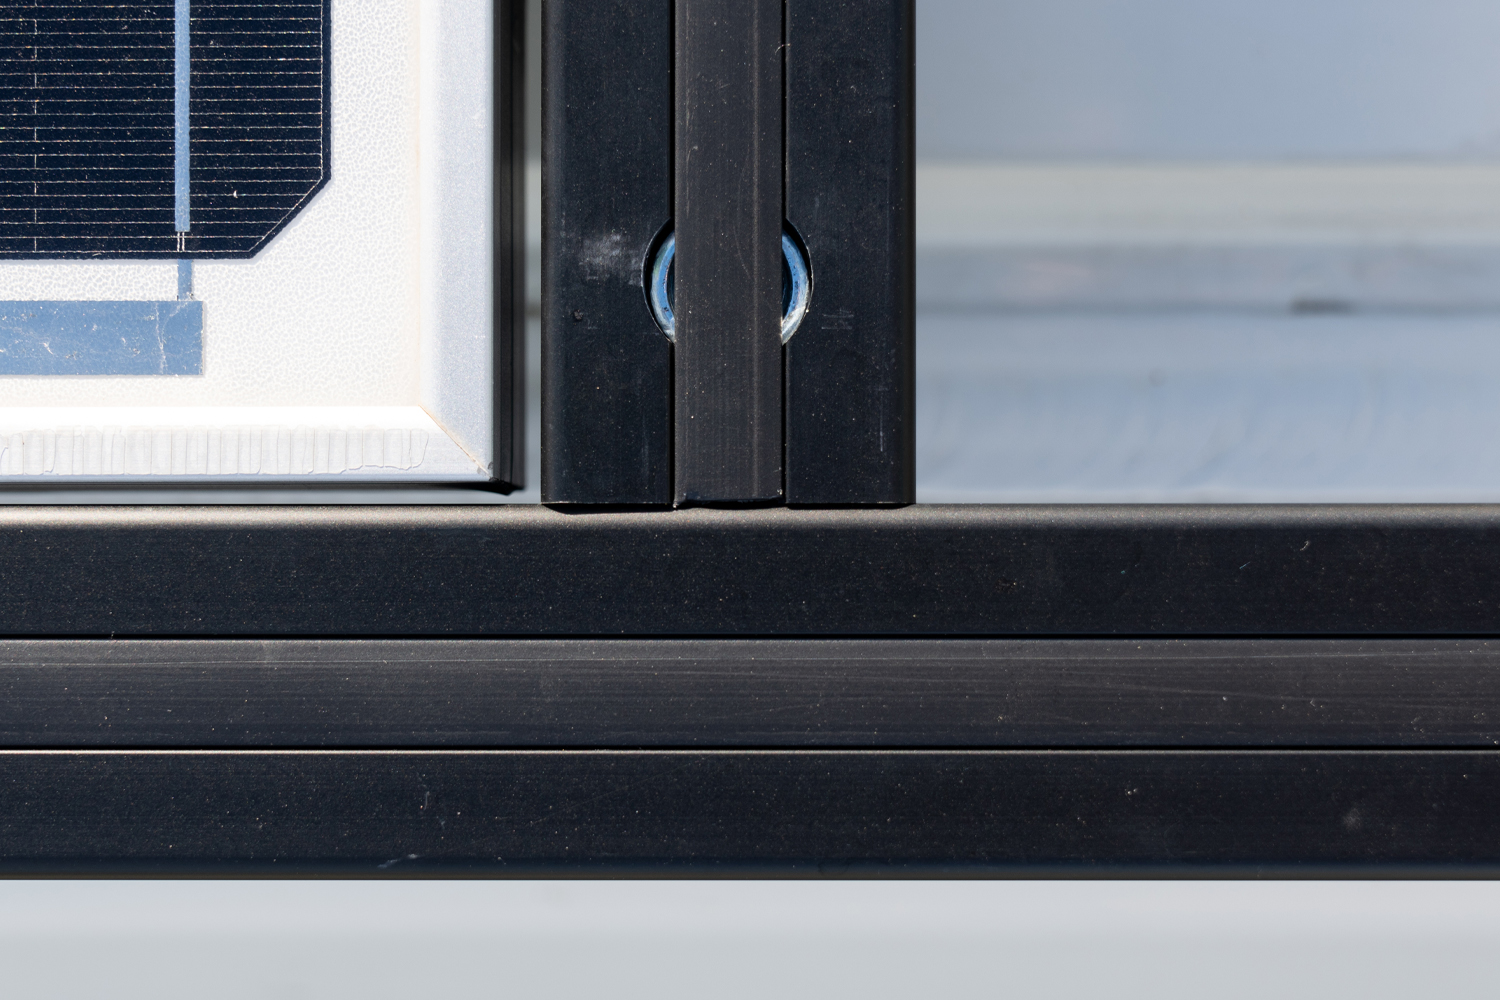
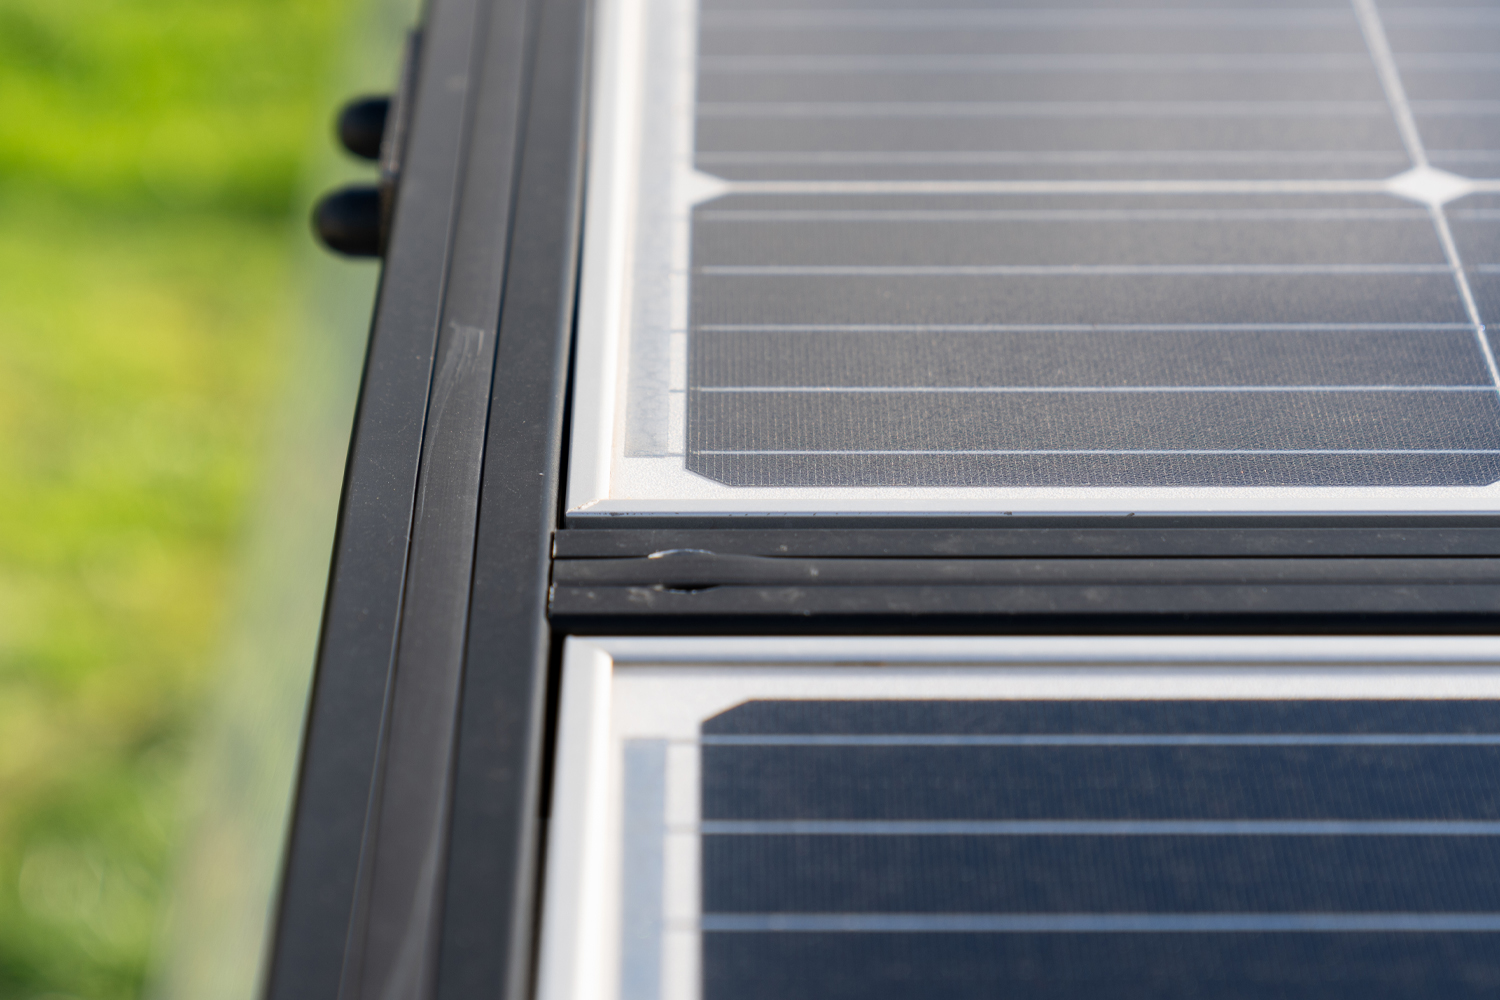
The structure of the roof rack is made from a 40x40 black anodised aluminium profile. The particular version used on this roof rack is the BR range from KJN. BR range is KJN's own line of products which is designed to be compatible with Bosch Rexroth aluminium profile range. Bosch Rexroth for instance have over 30 different connection types in more than 300 variants, this means you have lots of access to various fittings, attachments and accessories to customise your rack for your own needs and van.
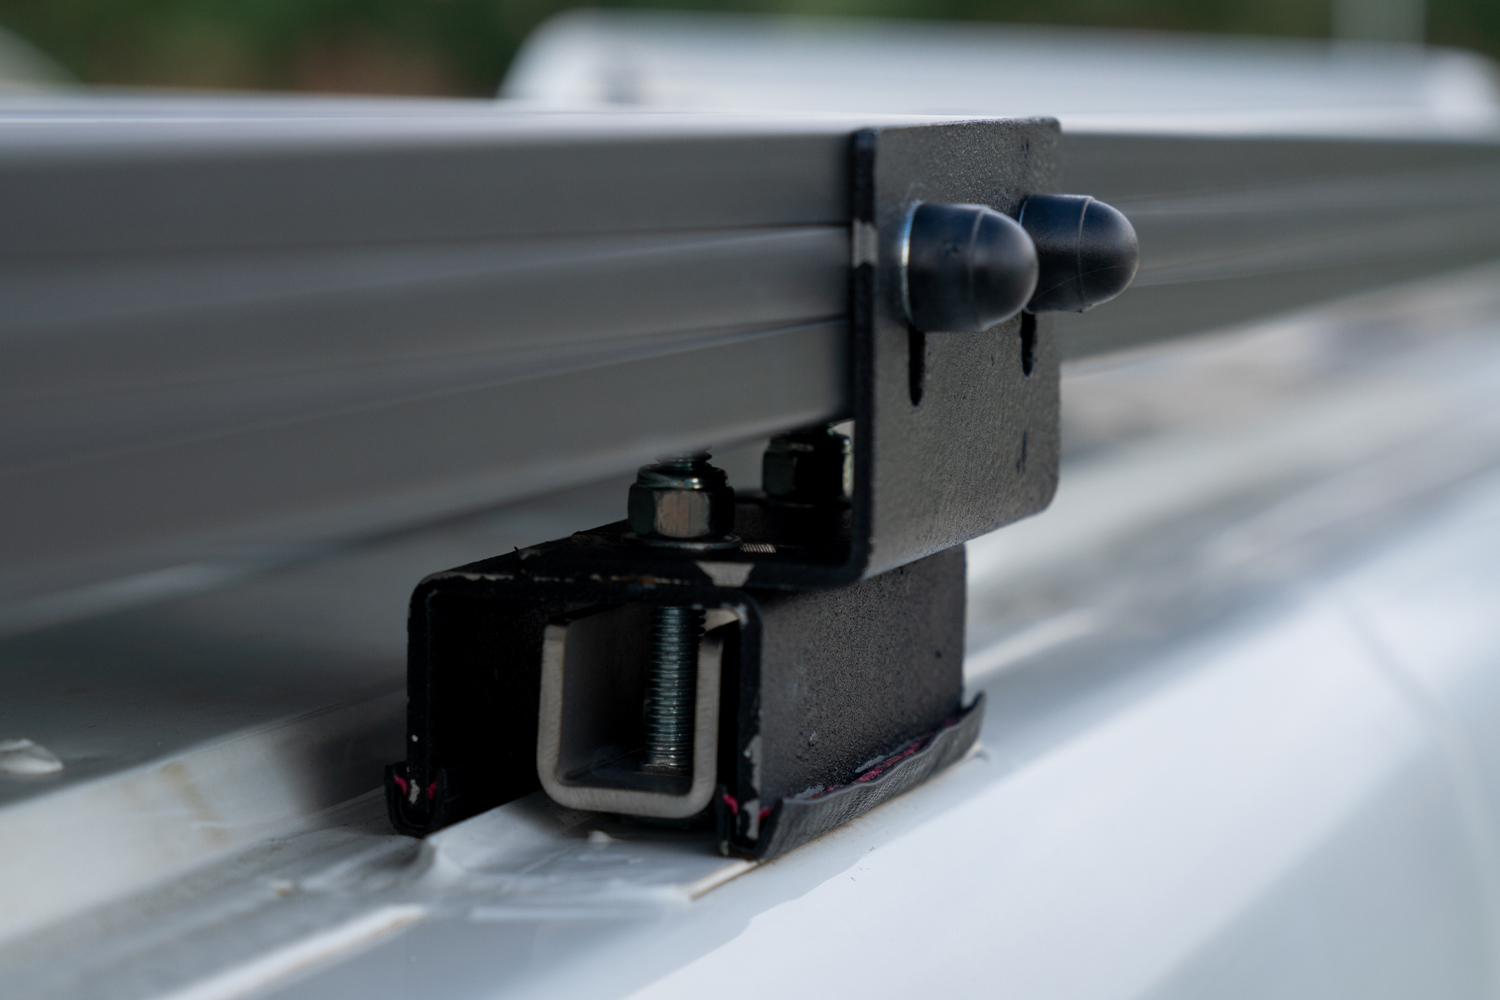
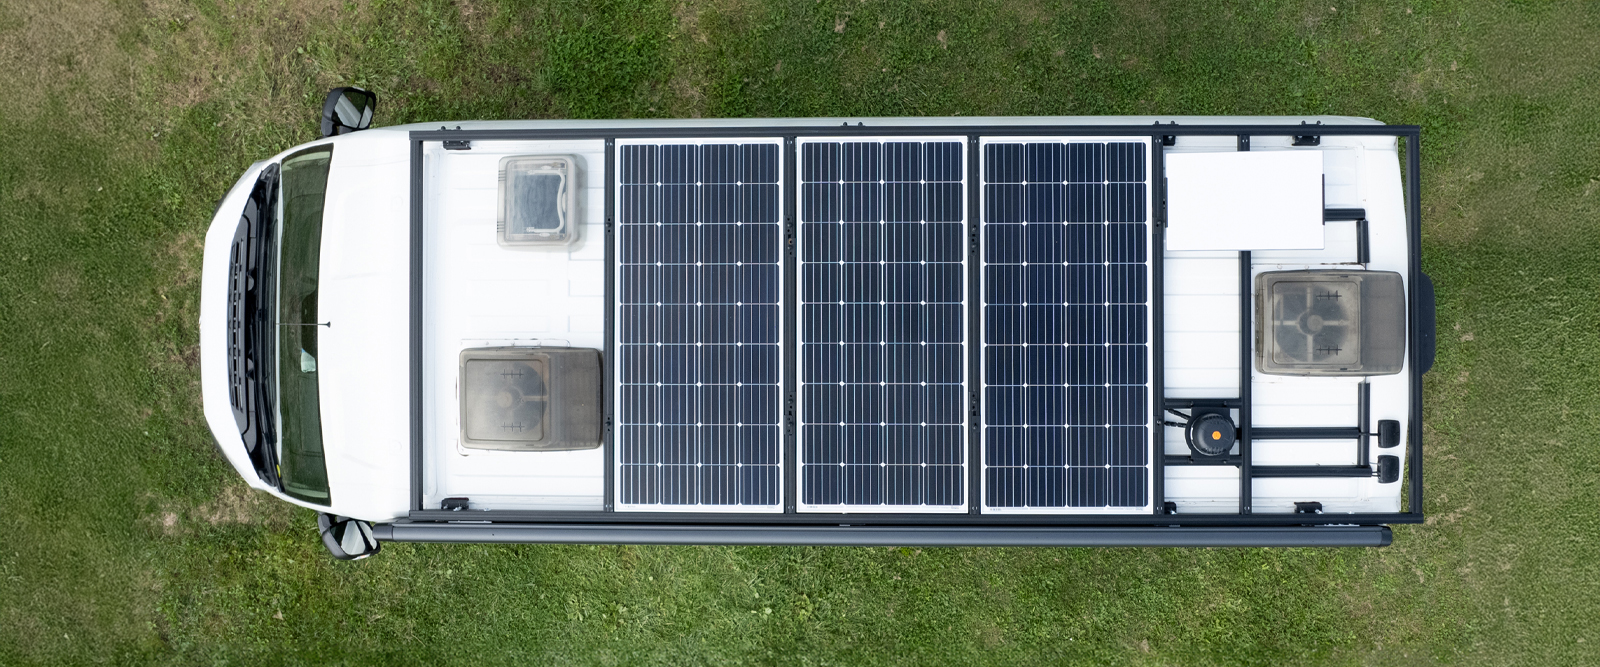
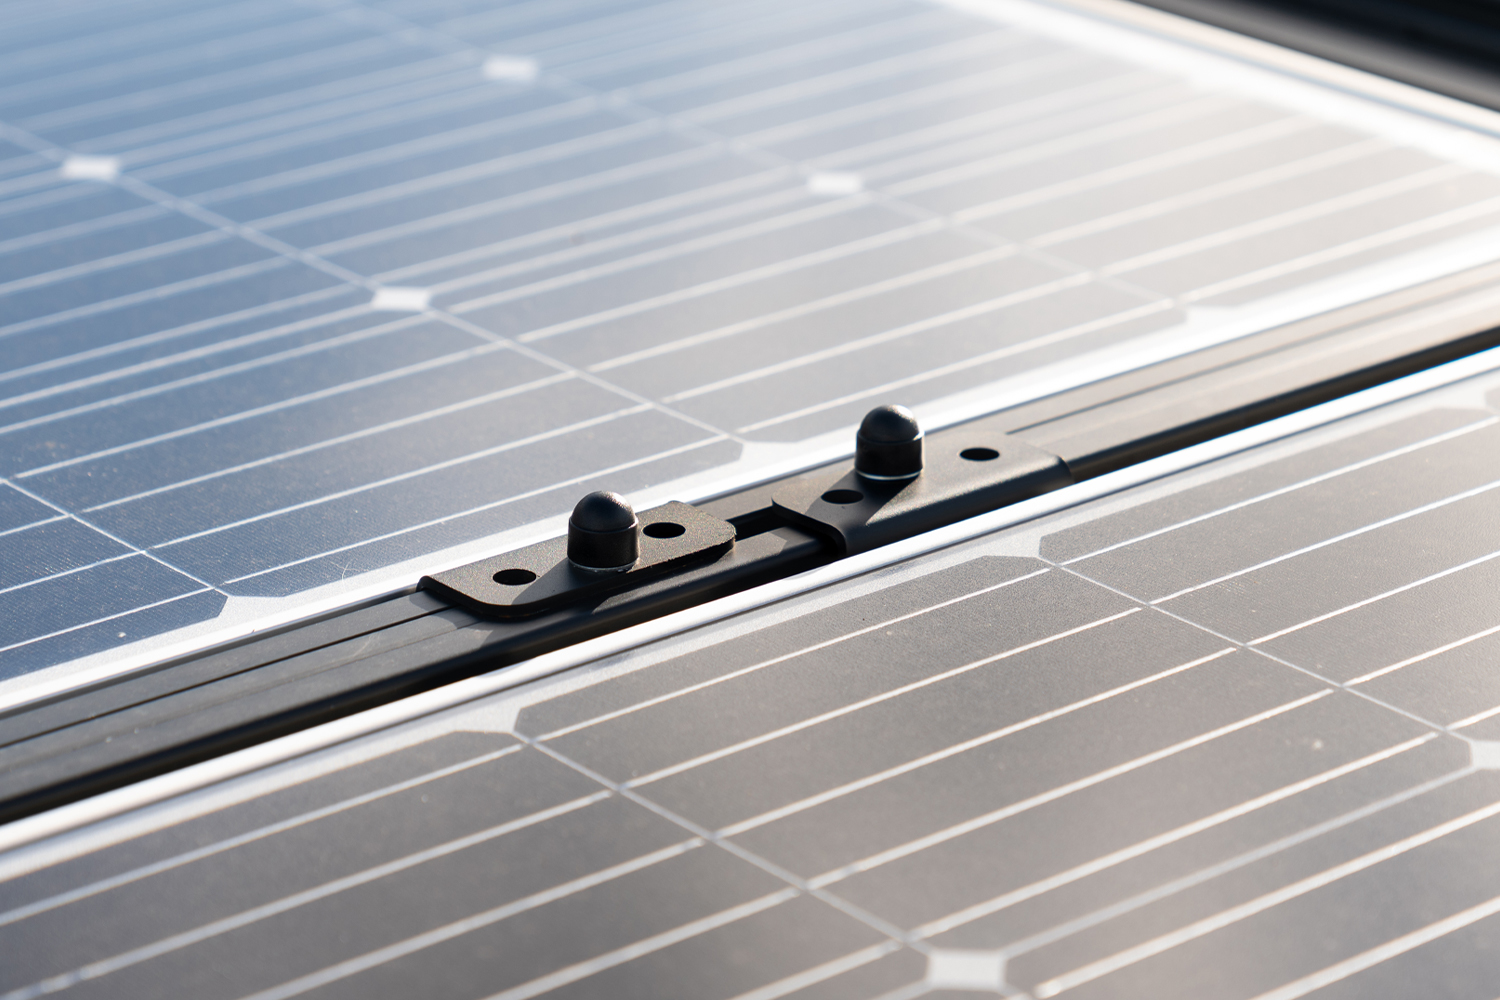
The rack is connected to the roof using the OEM rails, these are the same on the Peugeot Boxer, Fiat Ducato and Citroen Relay (the small vertical pieces that look a bit like a mushroom). The brackets supplied by Vanlife Conversions were custom made, there are several companies now offering brackets like this for you to mount your own racks to. The benefit of using a custom bracket with the OEM rails is that you can simply screw or bolt the brackets onto your van with no holes or drilling required. Our van is the Peugeot Boxer L4 H3 and we've used 8 brackets in total for the roof rack to mount onto (4 on each side). You can spot these on the top down photo of the roof rack above. We also opted to have the brackets painted in black to match the rest of the roof rack and external features of the van.

So, why is a custom roof rack a good idea? We see a few main benefits to having a lightweight roof rack vs mounting directly onto (through) the roof of your van.
Flexibility
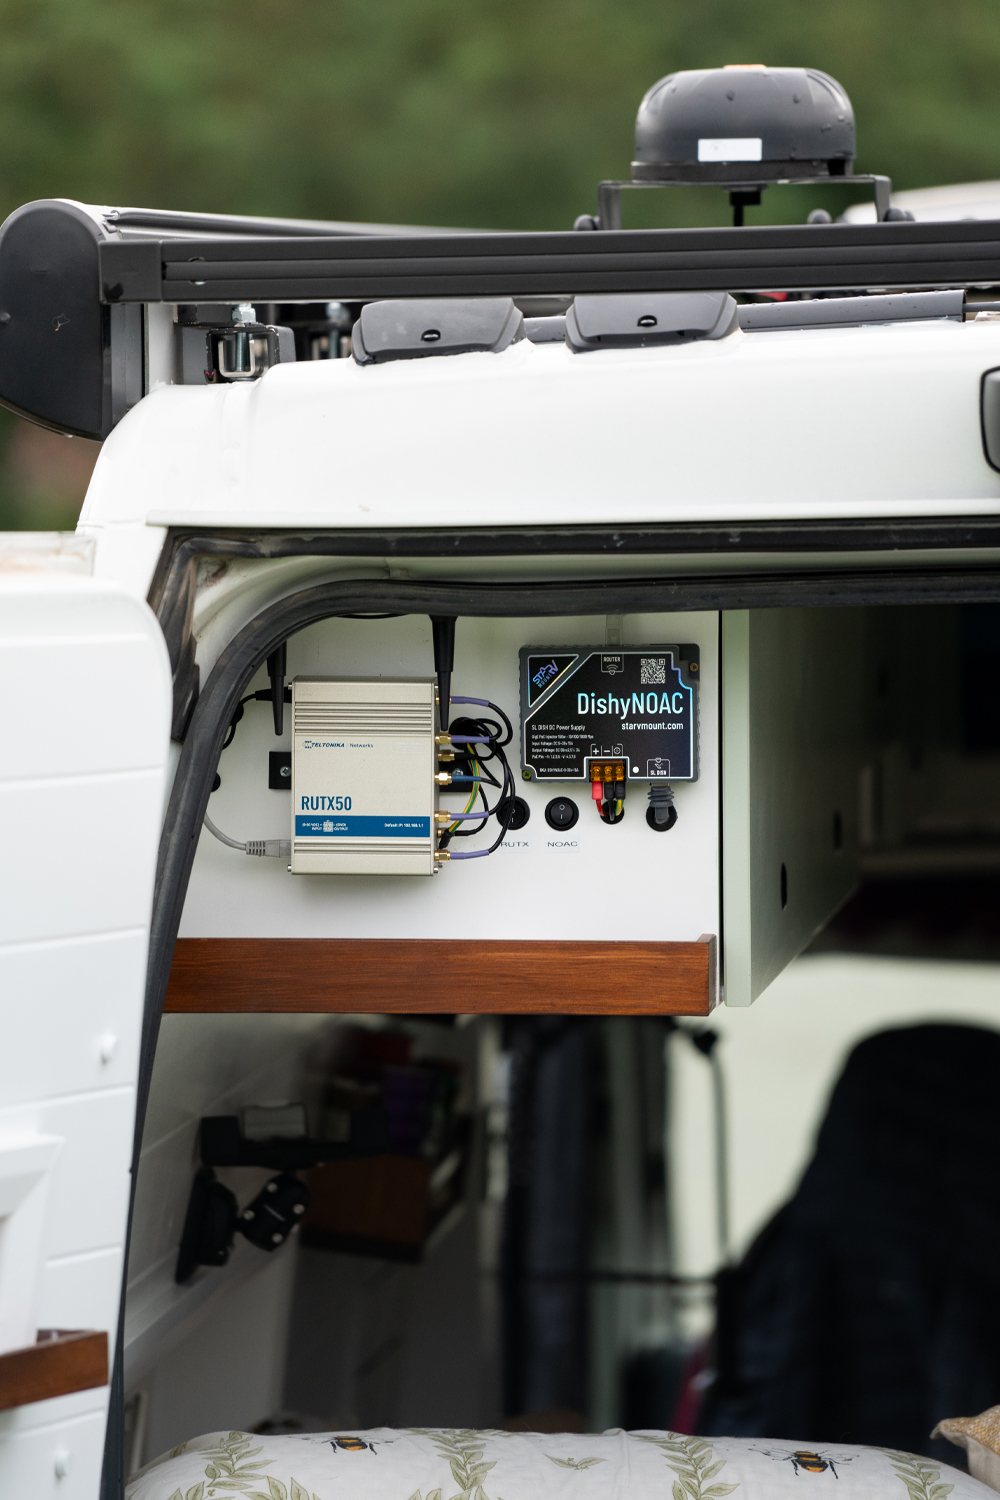
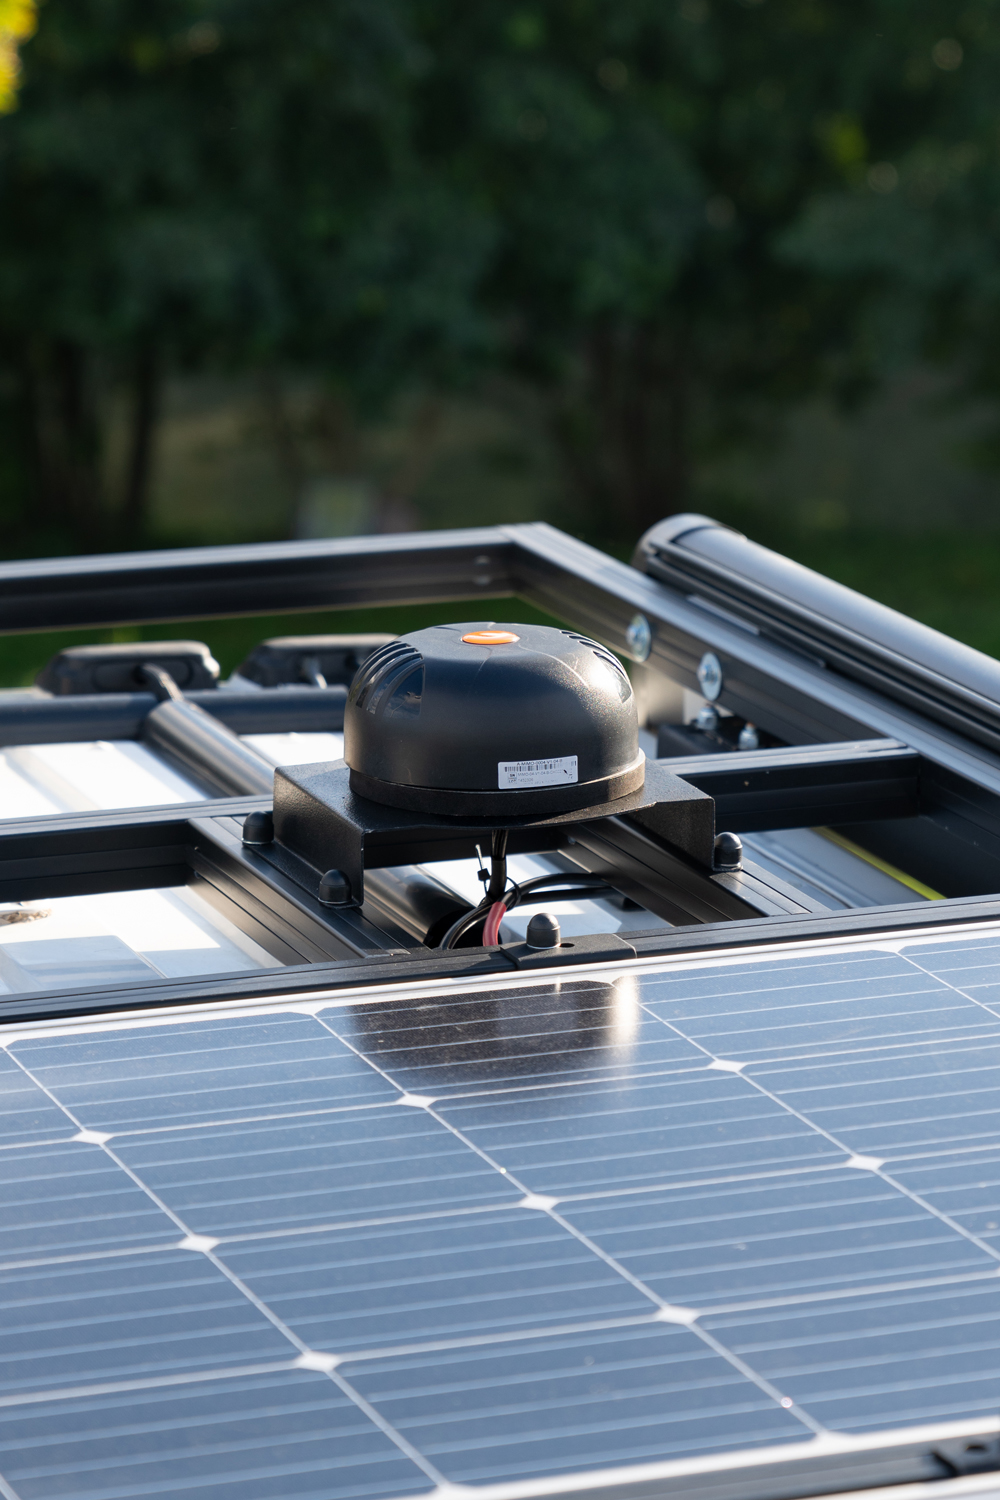
Having the ability to build around roof lights, vents and other permanent fixtures allows you to utilise the surface area of the van roof in the best way possible. We recently upgraded the internet setup on our van which meant swapping our old Starlink roof mount, and upgrading our 5G mobile antenna, as we previously didn't have the rack installed this meant removing screws and sealant and having to fill and treat the metal work afterwards. If we'd had the rack from day 1 it would have been a far more trivial task to unscrew a few mounting points and replace the old with the new. We now have everything mounted directly onto the rack and the solar panels have been flush mounted within the Unistrut to create a clean top surface. Our Poynting antenna is mounted on a raised platform and the Starlink Gen3 is mounted on the Starvmount mount.
Expandability
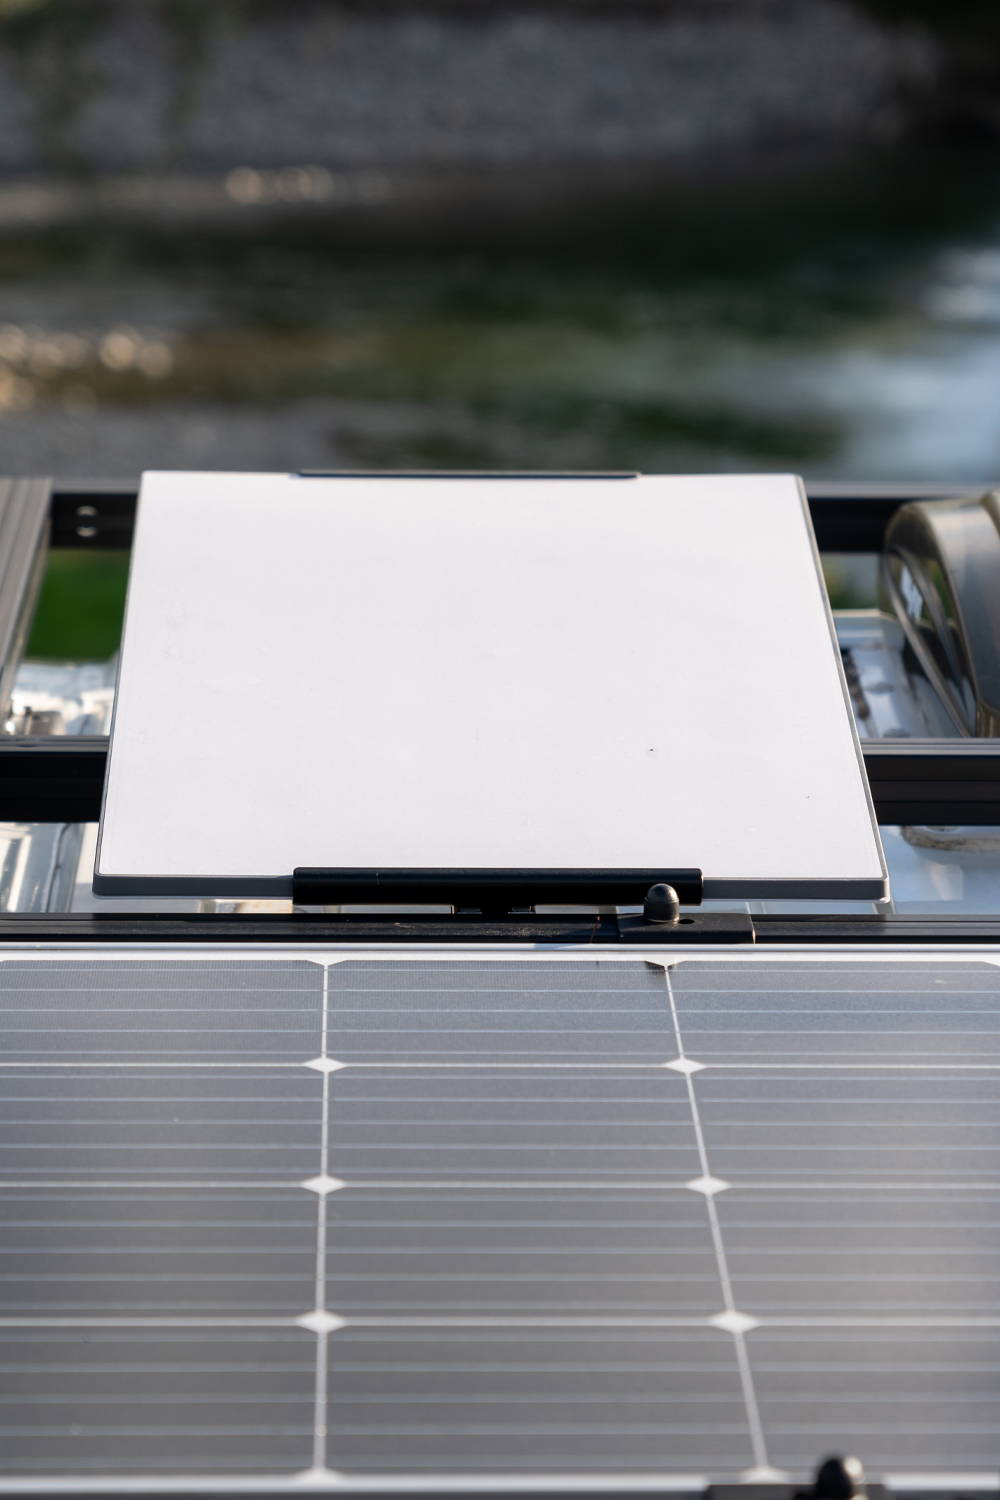
You either might not have the budget, or you might not want to fill the roof of your van with solar or other accessories from day 1, but planning ahead will save you time, and money in the future. For example, invest in expandable cable seals like the multi horizontal cable seal from Scanstrut (pictured below, we have two of these installed). This will allow you to run additional cables for solar, antennas, lightbars or other accessories in the future. You can also expand on the rack itself. It would be worthwhile creating the overall structure of the rack based on the entire length of the van, and then you can easily add or remove cross beams in future as you need to mount more parts.
Maintenance
Nothing lasts forever, parts wear, become damaged or need replacing. Having items mounted onto Unistrut allows you to easily swap, change or replace parts over time without the stress of removing or interfering with other parts of your van conversion. You can simply remove and replace parts without the additional leg work of filling holes and treating metal work.
The last feature we were really happy to have installed was the Thule Omnistor 5200 awning. With our previous roof setup and with the conversion being completed 2 1/2 years prior it initially looked like we wouldn't be able to add this type of awning retrospectively. Using the flat wall mounted awning Vanlife Conversions were able to side mount this directly onto the new roof rack without any additional holes or drilling required... bonus!
We hope you've found this post useful, and that it gives you some ideas and inspiration for your own van build.
If you're interested about vanlife but don't know where to start, you can check out our vanlife consultation service.
You can also follow us along on Instagram, YouTube or on our Facebook Vanlife Q&A page.